Pricing is one of those things nobody daydreams about when they picture owning a bakery.
You picture flour in the air. Early mornings. The smell of bread drifting out the door before the sun is fully up. You do not picture a calculator with butter smudges on it. I have one. It lives next to the radio.
Pricing is the difference between baking because you love it and baking because it quietly pays your bills.
I learned that the uncomfortable way.
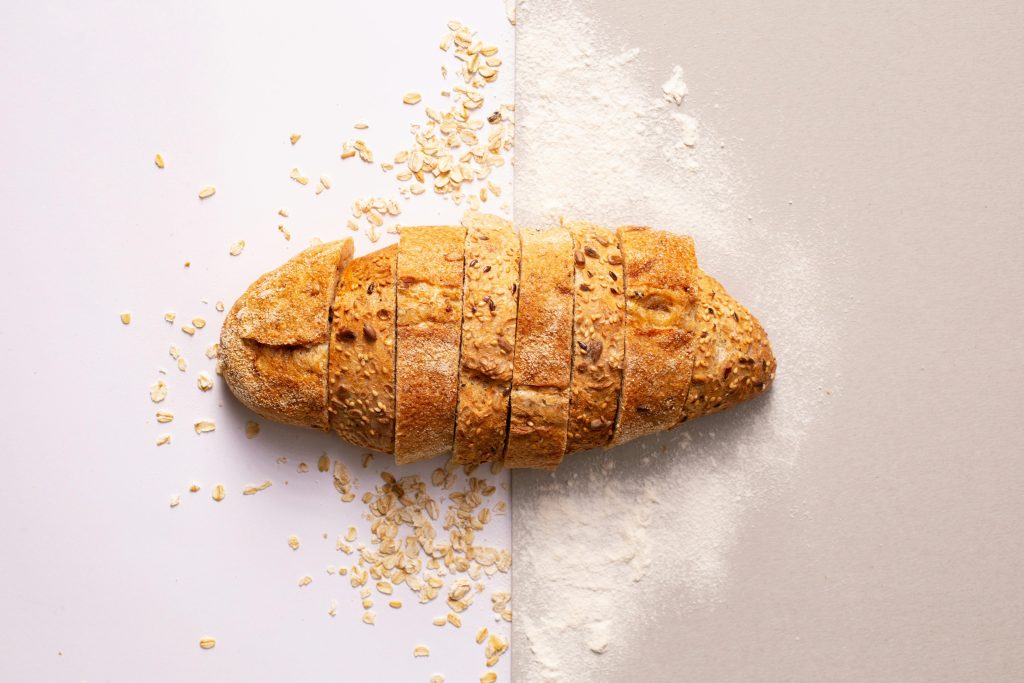
You spend two days making sourdough. Feeding your starter like a pet. Mixing dough. An 18 hour bulk fermentation. Shaping with flour up your elbows. A 12 hour cold proof. Scoring carefully, hoping for that perfect ear. The loaf comes out golden, open crumb, everything you hoped for.
You see grocery store bread at $4 or $5. Local bakeries at $7 or $8. So you price yours at $8 to be competitive.
Later, when the kitchen is quiet and the oven is cooling down, you calculate. Ingredients. Active labor. Overhead. You realize you did not value fermentation time. You did not factor in starter maintenance. The numbers sit there calmly while you do the math again.
You lost money. And you did not even account for 48 hours of fermentation.
That is the reality of underpricing.
There are different ways to approach pricing, but they all circle back to something simple. You have to know your real costs. Not what feels fair. Not what the bakery down the road charges. Your actual numbers.
One method many micro bakeries use is straightforward. Calculate the total cost to make a batch. Divide that by the number of items you get. Multiply the per item cost by 4.
That is how to price baked goods in a way that covers ingredients, time, and leaves margin to keep growing.
If a batch of muffins costs $15 in ingredients and yields 15 muffins, that is $1 per muffin. Multiply by 4 and you land at $4 per muffin. Sometimes you round up to land on clean numbers, depending on your market. That 4x formula accounts for prep, baking, cleaning, shopping, packaging, and selling. All the small tasks that fill your week and do not invoice themselves.
For sourdough bread, the numbers stretch further.
Ingredient cost per loaf can fall between $2 and $5 for an 800 to 900 gram loaf. Active hands on time runs 2 to 4 hours for mixing, shaping, scoring, and baking. Then there are 18 to 48 hours of fermentation quietly taking up space in your fridge. Overhead typically runs 15 to 20 percent of materials plus labor. Sourdough carries a complexity level of 4 out of 5, which means multiplying base costs by 1.3 to 1.8 times to reflect skill, precision, and difficulty.
The formula is not glamorous.
Ingredients plus Labor plus Overhead.
Multiply by Complexity.
Add your Profit Margin of 60 to 100 percent.
That is how professional bakers price sourdough bread so they do not lose money without realizing it.
Most of us only count ingredients at first. Flour. Butter. Eggs. Sugar. It feels tidy. It feels manageable.
Recipe costing for bakeries is more layered than that. Direct labor. Time spent mixing, shaping, baking, finishing. Utilities for ovens and refrigeration humming before dawn. Packaging. Boxes, bags, labels. Overhead allocation such as rent, insurance, equipment depreciation. It is all part of the loaf.
Consider a standardized recipe for classic croissants yielding 24 pieces. Ingredient costs are pulled from supplier invoices down to the gram. Labor time is tracked. Mixing and fermentation. Lamination. Shaping. Baking. At an hourly wage rate, that labor becomes a real number. Packaging and overhead are added. Only then do you calculate total cost per croissant and set a selling price that meets a target food cost percentage of 25 to 35 percent and supports a net profit margin of 25 to 40 percent before taxes.
Bakeries operate on thin margins. Raw materials typically represent 50 to 70 percent of total production costs. A 5 percent underestimation in ingredient costs on a $3 pastry reduces profit by $0.15 per item. Multiply that across 200 pastries a day and it becomes thousands of dollars across a year. It adds up quietly, the way mistakes often do.
Ingredient costs increased 7.11 percent year over year in 2024. Butter prices reached record highs. Using outdated prices or ignoring small ingredients like salt or vanilla can erode profitability without warning.
That is why standardized recipes matter. Weight measurements. Exact yields. Documented mixing times and temperatures. Consistent portioning so your large muffin is not 85 grams one day and 120 grams the next. I have done that. It is humbling.
For sourdough, fermentation time has value. It ties up equipment. It requires temperature control. It represents time investment. Some bakers charge $1 to $2 per 12 hours of fermentation to reflect that commitment. Starter maintenance costs $5 to $10 per month in flour and daily feeding. Divided by loaves produced, that becomes $0.50 to $1 per loaf. Small numbers. Real numbers.
Market data shows local bakeries sell sourdough for $7 to $12 per loaf direct to customers. Farmers markets in higher end areas support $10 to $15 per loaf for organic artisan sourdough. Basic white sourdough often lands at $8 to $12. Whole wheat or organic at $12 to $16. Ancient grains or heirloom wheat at $16 to $25 or more.
Those are ranges. Your actual price depends on your costs, location, skill level, and target market.
Wholesale and retail follow different rhythms. Wholesale to restaurants and cafes might land at $6 to $10 per loaf for volume orders and consistent schedules. Retail at farmers markets or direct sales can reach $10 to $20 per loaf. Wholesale offers steadiness. Retail offers stronger margins.
Technology can help keep the math from living only in your head. Digital recipe management stores standardized recipes with automatic cost calculations. Invoice integration updates ingredient costs from supplier invoices and alerts you when costs change significantly. Platforms like BakeProfit offer recipe costing with automatic profit calculations, order tracking, inventory tracking, and production planning. Systems like Diced OS maintain recipe databases, integrate invoices, and generate profitability reports so you can compare actual costs to theoretical costs and track margin trends over time.
Software does not replace attention.
Menu engineering matters. Notice the items that are high profit and high popularity. Notice the ones that sell but barely pay their way. Remove items that quietly lose money. Review supplier invoices weekly. Adjust when ingredient costs change by more than 10 percent.
In the end, pricing is not about guessing what people will pay. It is about knowing what it costs you to produce every loaf, muffin, croissant, or cake.
A recipe without proper costing is just a hobby.
When you calculate true costs, apply the multiplier, and set a clear profit margin, something shifts. You move from hoping to earn money to planning to earn it. The kitchen feels the same. The radio still plays. The dough still sticks to your hands.
You are not quietly losing $52 on ten loaves anymore.
It is measuring. Tracking. Reviewing. Adjusting.
Almost like baking itself.
“`
How to Price Sourdough Bread: Complete Artisan Guide + Calculator (2026)
How to Price Baked Goods
Recipe Costing for Bakeries: How to Price Your Baked Goods for Maximum Profitability
“`