In the heated oven of the baking industry, wholesale bakery supplier relationships are not just another ingredient. They are the yeast that causes your business to rise. I used to read lines like that and nod along as if I understood them. Then I had a morning where the flour delivery did not turn up, the radio was playing something scratchy from the eighties, and I was standing there with dough half mixed and flour already dusted up my forearms. That was the day it stopped being a sentence and started being real.
In a busy bakery, having a reliable supplier is a valuable asset when you are trying to produce high quality baked goods. That sounds tidy. It never feels tidy at five in the morning.
Your wholesale bakery supplier is not just a vendor but an important partner in your business. Their reliability, consistency, and service quality affect your operations and your reputation. I did not think of suppliers as partners at first. I thought of them as invoices. Then I realised that when the flour shifts slightly in protein or freshness, the dough shifts too, and suddenly I am the one explaining to a customer why the crumb looks different today (and pretending that was the plan all along).
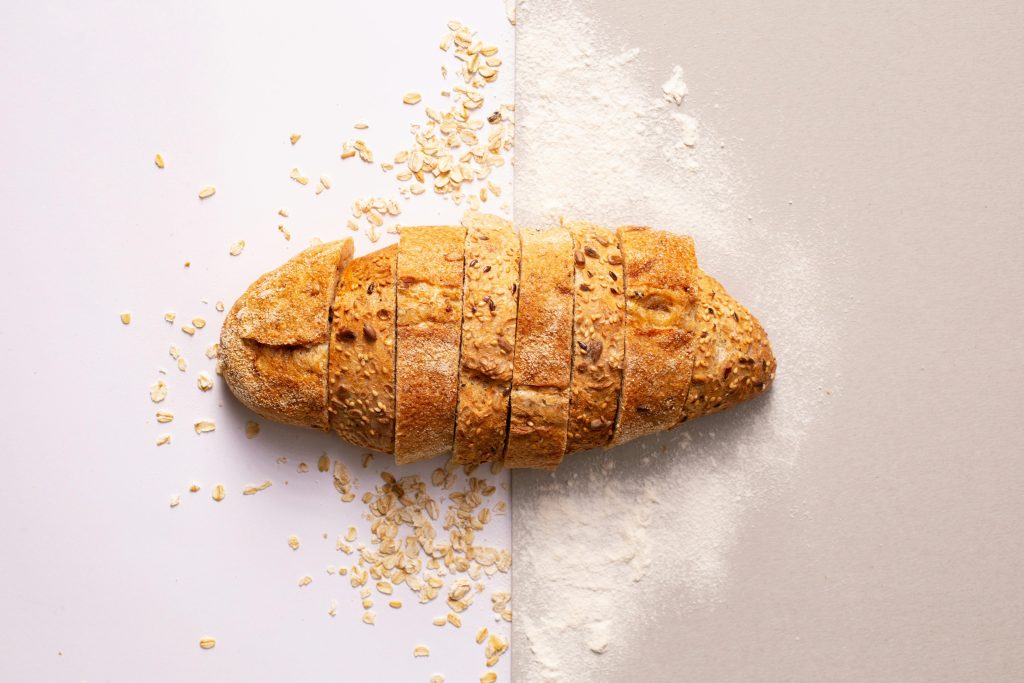
Flour is often deemed a staple ingredient when it comes to baking, so picking the right flour supplier in Singapore for your business is essential. It sounds simple when written down. In practice, it shapes everything, from how the dough feels under your palms to whether your customers come back next week.
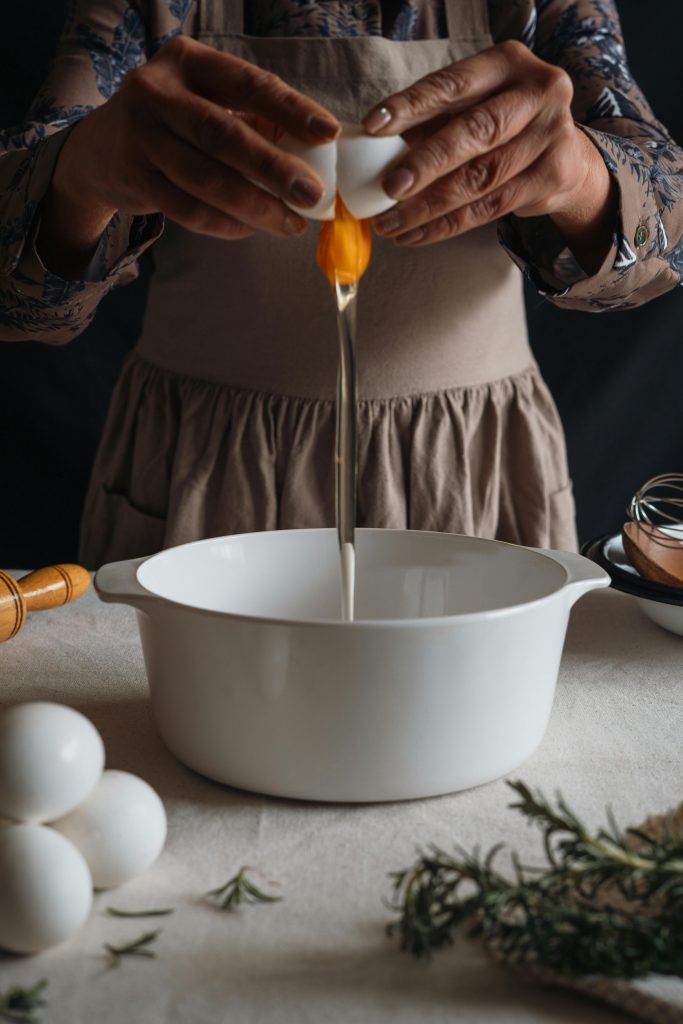
Every bakerys backbone is its pantry, a collection of essential baking supplies. Flour, sugar, eggs, milk, and yeast. Each ingredient plays a specific role, whether that is structure, leavening, flavor, or moistness. When one of them wobbles, the whole bake wobbles. A stale baguette or a soggy croissant would hardly meet your customers expectations. I have baked both. They were eaten anyway (friends are kind like that), but the lesson lingers.
The quality of your baked goods starts with the quality of your ingredients. High quality ingredients and raw materials lead to high quality pastries and eventually loyal customers. It becomes a quiet chain of cause and effect. Good flour arrives. Dough behaves. Bread cools on the rack in the afternoon light. People break it open and nod. That nod matters more than any spreadsheet.
Quality alone is not enough. A reliable supplier delivers the same level of quality, quantity, and freshness every time. Consistent quality ensures that the level of service and product offered remains steady over time. When suppliers honor their commitments, meet delivery dates, and ensure adequate stock, the day flows. When they do not, the day turns into improvisation.
Having a reliable supplier supports a steady supply chain and helps ensure your bakery shelves are not left empty. There is a certain calm in that predictability. It is the kind of calm that lets you focus on shaping dough instead of refreshing your email.
When narrowing down your list of potential flour suppliers, look beyond the brochure. The flour supplier you choose should offer a wide range of products to meet your bakerys unique needs. Different types of flour, from bread flour to cake flour. If you are experimenting with healthier baking alternatives, using wholegrain flour is one method. Prima Flour offers a large variety of wholesale flour trusted by bakeries locally, and the Farm Brand wholegrain or wholemeal flour range for professional use is an option to consider for healthier baking. Prima Flour has been in the industry since 1961. Years of experience have helped the company produce consistently high quality products at competitive prices. There is something reassuring about a date like 1961. It suggests that other bakers have stood where you stand now and made it through, I strongly suggest viewing the operations of a local flour mill, to literally get a taste of it.
Something else has also been unfolding. Walk into an artisan bakery in New York or Seattle, Portland, Maine, or Portland, Oregon, and you may discover that your baguette or boule was made from locally sourced flour. A bakery using local flour was a rarity even a decade ago. Now it is part of the conversation.
Local flour is locally grown and locally milled. It contains no additives and likely contains more bran and germ. It supports local food systems. Small mills, especially those that are organic, are not using chemical additives. Heritage wheats such as emmer, einkorn, spelt, red fife, white Sonora, and warthog have found their way back into mixing bowls.
Heritage grains do not act the same way commodity grains do. Bakers and chefs, and even home bakers, need to understand what these fresher and often higher protein flours do when you mix them and place them in the oven. I have overproofed more than one loaf while learning that lesson. The crust still sang when it cooled, just a little softer than intended.
There used to be some 24000 mills scattered across the United States. Now there are 166. That number alone says something about how much has changed. Getting farmers to grow grains for local markets is only one part of building a viable local system. There must be modern granaries that can keep grain clean according to food safety standards. It requires time, expertise, and infrastructure to do it properly, and it is not inexpensive. Still, what has happened in a decade shows steady progress.
Production bakeries like Tartine in California are sourcing from mills like Cairnspring Mills. On the East Coast, Maine Grains, Wild Hive, Farmer Ground Flour, Small Valley Milling, and Castle Valley Mill have bread flours made from local wheat. These are supply decisions. They are also decisions about what kind of story you want your bread to tell.
Whether you are sourcing from a global leader like Prima Flour or working with local mills, some principles remain steady. Ask suppliers for samples so that the bakers can test them before committing. Develop criteria that your flour supplier needs to meet and evaluate whether they can achieve them. Delivery method and frequency, return policy, payment terms and conditions, and quality assurance processes are all worth reviewing. Compare prices because there may be suppliers offering more favorable prices, but do not compromise quality for price. I have tried to save money on flour before. The savings never lasted.
Great suppliers do more than deliver products. They build partnerships. They are open to feedback and create solutions to meet your specific needs. A collaborative approach, transparency, and mutual understanding form the foundation of a trust based partnership that brings long term advantage. That sounds formal. In reality, it often looks like a phone call where you admit you miscalculated your order and they help you fix it without making you feel foolish.
Success in the bakery industry is a collective effort. Your suppliers play a critical role in your journey. If your supplier is reliable, your product availability becomes predictable. Your customers know what to expect and when. And in that steady rhythm of flour arriving, dough rising, bread cooling, and friends tearing into a loaf that may or may not be perfect, a business becomes something warmer than a transaction. It becomes a small community built around flour, patience, and the willingness to keep trying again tomorrow.


Leave a Reply