Woody's Black and White Brownies Rose's Alpha Bakers
 Woody's Black and White Brownies (with a touch of green) 'The Baking Bible'
Join me on Facebook or view my Flickr gallery

 Stuart's video brownie review Flickr.
Little Stuart is eight years old and has autism, each week he asks me "is it chocolate yet?" This week it is chocolate!! Woody's Black and White Brownies.
Stuart wanted to take the brownies to school tomorrow, so the we had to veto the bourbon in the ganache topping and no nuts (nut free school). This caused an hour or three problem as Stuart kept repeating "the recipe says bourbon" but we settled on mint largely due to Stuart loving 'Peppermint crisp' chocolate bars. :)
 peppermint crisp bar a popular chocolate bar in Australia, New Zealand and South Africa... often used in desserts.
 Chocolate and butter were melted in a double boiler and scraped into the mixing bowl of the stand mixer.
 Cocoa and sugar were added and mixed until incorporated.
 Eggs and vanilla were beaten in, the mixture became thick and glossy.
 Cream cheese was added and beaten until small bits remained and the mixture was spread evenly in the lined baking pan. I added a handful of choc chips, well just to surprise Stuart really.

Hmm, I wondered at this stage were you supposed to be seeing the little bits of cream cheese?
 Brownies were baked until the batter was set one inch from the edge.
 Next was making the white chocolate custard base that would be a compontent of the white chocolate buttercream. I used small callettes so I didn't have to cut chocolate into pieces.
I had never made a custard from melted white chocolate and butter until this recipe, interesting technique.
 White chocolate and butter are melted over a double boiler.
Whisked eggs are added and cooked until slightly thickened (you have custard), it's then strained and cooled.

white chocolate custard ready to be cooled
Butter is whipped until creamy, custard gradually mixed in. Beaten to stiff peaks form and covered and popped away for a couple of hours.
Frosting is them rebeaten briefly and vanilla added.
 Time to spread frosting on cooled brownie base.
 Next up "dark chocolate ganache glaze", cream and chocolate are melted together (there is bourbon in this bit if you are using) and ganache is spread on frosting. I sprinkled the crushed peppermint crisp chocolate bars on top at this stage.
The brownies are back to fridge now to chill at least one hour before unmoulding and slicing.
 Straight from the fridge the texture is like this. The brownies are much easier to slice. Once returned to room temperature the white chocolate frosting is extremely soft and will squelch out as you bite. I'd like a firmer white layer more in line with denseness that is "a brownie". The brownie base is great, fudgy without being cloying. You can still see the little pieces of cream cheese, not sure what that is about but hey "it's good'.
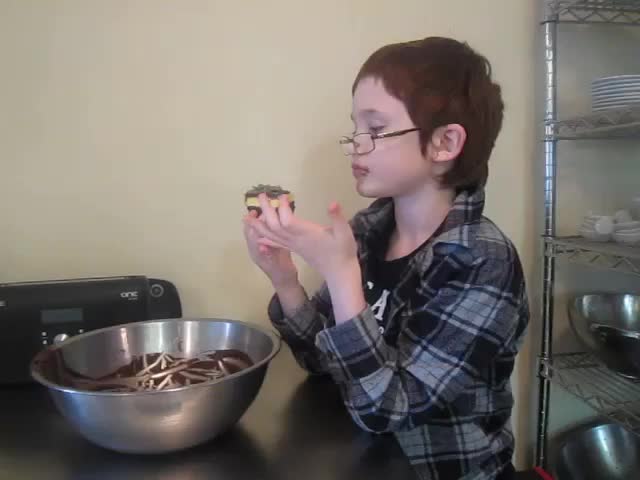
 Stuart studying his brownie, he absoloutely loved them... as did his Dad.
How it works... now I've joined the fabulous existing alpha bakers, once a week I will post about what I have baked from Rose Levy Beranbaum's 'The Baking Bible'. This won't include the recipe due to copyright and publisher restrictions however, I will be posting how it went and photos of making/baking the gorgeous baked goods.
Would I bake again? All the elements yes, but not together. Great tasting brownie. Great tasting white chocolate custard frosting. Just not the two together.
Would I change anything? Yes, I would make the brownie base alone and top with ganache. Maybe incorporate the cream cheese fully because it's not visually appealing.
The Baking Bible available from Amazon and all discerning book retailers.
 You might also be interested in chocolate twirly swirly decorations
 The Lone Baker


